
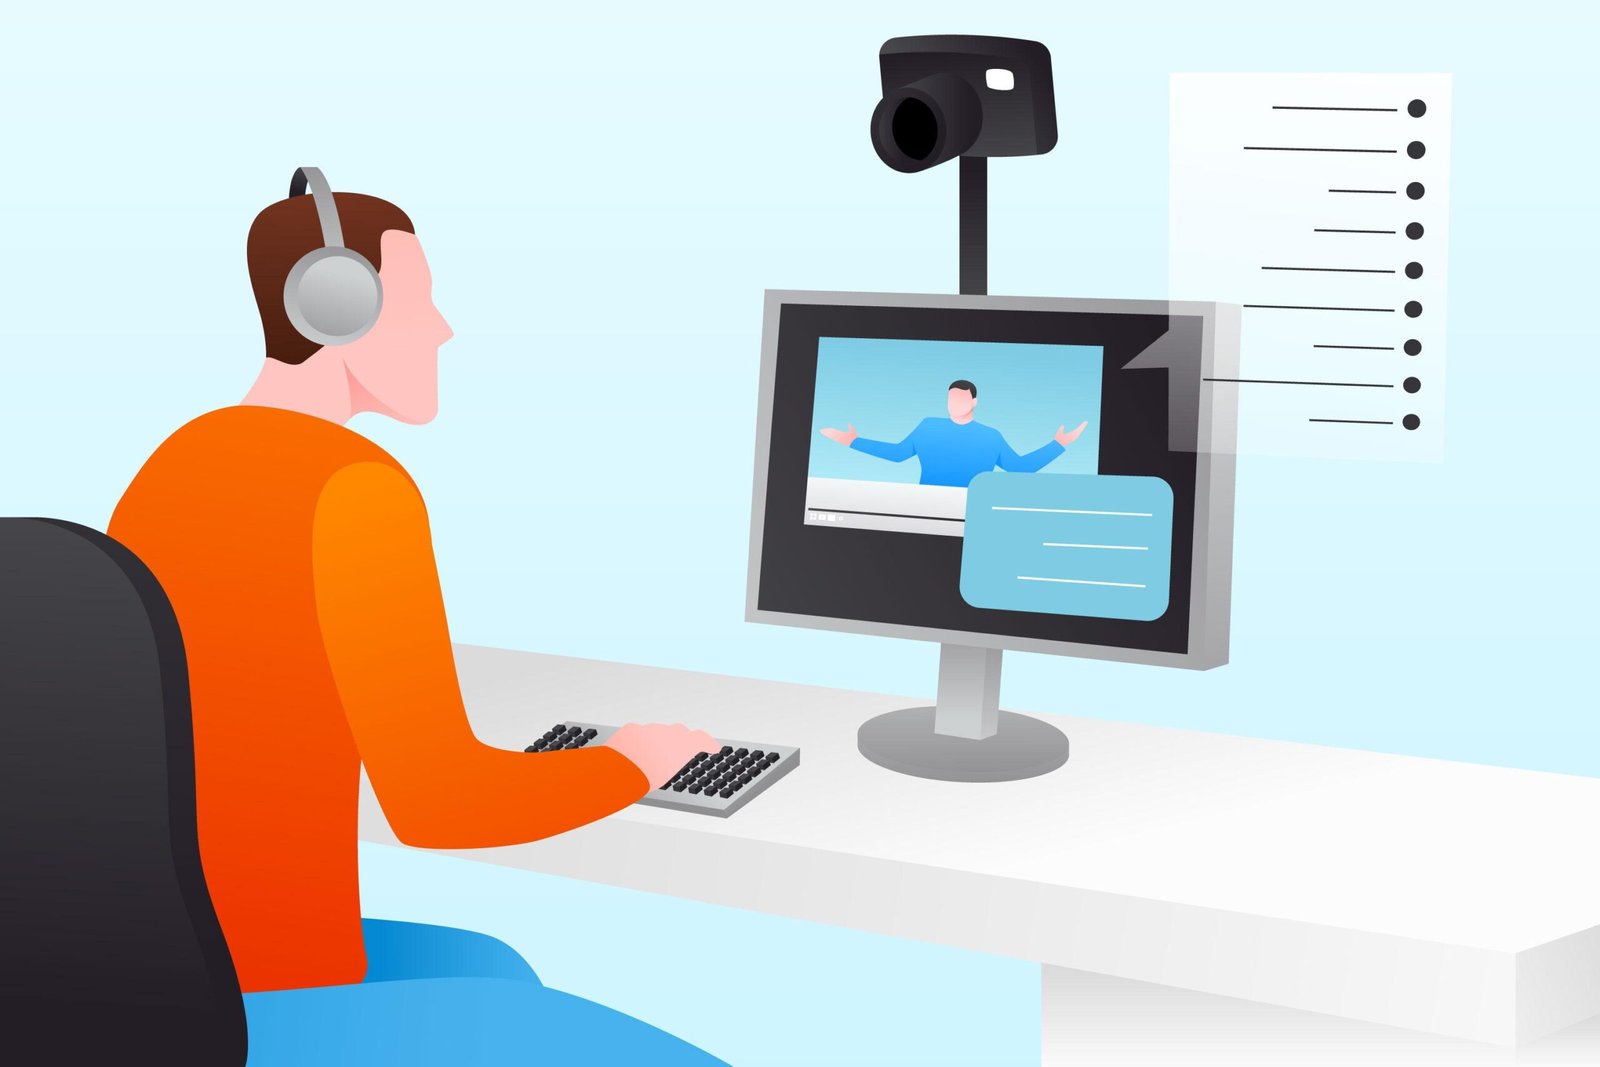
Whether you’re streaming, teaching, or building your YouTube channel, your audience judges your video in the first few seconds — not just by what you say, but by how clearly they can see you.
Even with great lighting and audio, a pixelated, laggy, or poorly exposed feed can instantly reduce your video’s professionalism. That’s why every creator — from first-time YouTuber to seasoned educator — eventually faces a key decision:
Should I get a webcam or a capture card?
Both aim to improve video quality, but they serve different needs.
This guide breaks down exactly what each one does, how they differ from vlogging cameras, and which setup fits your creator journey best.
🧭 What Are Webcams and Capture Cards?
Let’s start simple.
A webcam is a compact camera that connects to your laptop or PC through a USB port. It records or streams directly — no memory cards, batteries, or cables needed. Just plug it in, open your recording or streaming app (Zoom, OBS, StreamYard, etc.), and start shooting.
They’re designed for convenience: creators who work from desks, shoot tutorials, or livestream sessions love them because they “just work.”
A capture card, by contrast, is a small device that acts as a translator between your high-end camera and your computer.
When your DSLR, mirrorless, or GoPro sends video through HDMI, your PC can’t understand that format on its own. The capture card converts that HDMI feed into a format your computer recognizes (usually a clean 1080p or 4K digital stream).
In short:
🖥️ Webcam → Direct, simple video feed
🎬 Capture Card → Converts pro camera video for use as a webcam
That’s why many top YouTubers use capture cards — they get the cinematic quality of a DSLR with the convenience of PC streaming.
🎞️ How They Work (Explained Simply)
🎥 Webcam Workflow
- Connect webcam via USB.
- Your computer auto-detects it as a “video input.”
- Software like OBS or Zoom displays the live feed instantly.
- Adjust exposure and resolution within the software.
💡 Think of it as a built-in camera for your PC, only sharper and more flexible.
🎬 Capture Card Workflow
- Plug your camera’s HDMI cable into the capture card.
- Connect the capture card to your PC via USB or USB-C.
- Your PC now detects your DSLR feed as a webcam signal.
- Open OBS, YouTube Studio, or any platform — and you’re live in full quality.
💡 It’s like giving your laptop the power to use professional-grade lenses and sensors.
🎬 Webcams vs. Vlogging Cameras vs. Capture Cards (Real-World Comparison)
Instead of a table, let’s compare them through real creator scenarios:
🧑🏫 For Online Teachers or Coaches
If you record lessons, webinars, or explainer videos from your desk, a 1080p or 4K webcam is your best friend.
It’s plug-and-play, runs on USB power, and requires zero technical setup.
Just add a ring light, and your visuals will look crisp and consistent.
🟢 Recommended gear: Logitech C920 HD Pro, AUSDOM AF640, or NexiGo 4K.
🎮 For Gamers and Streamers
If you already have a great DSLR or mirrorless camera but want to use it for Twitch, YouTube Live, or OBS — go for a capture card.
It converts your camera feed into a livestream-ready signal that stays lag-free and high-quality.
🟢 Recommended gear: Elgato Cam Link 4K, AVerMedia Live Gamer Mini, or Digitek DSC-04 Capture Card.
🎥 For Travel or Outdoor YouTubers
You’ll rely on vlogging cameras, not webcams or capture cards.
These are built for mobility — interchangeable lenses, built-in stabilization, and battery operation. They’re for cinematic content, not static streaming.
🟢 Recommended gear: Sony ZV-1, Canon M50 Mark II, or GoPro Hero 12.
💻 Key Takeaways (Summarized)
- Webcams: Plug, stream, and forget — best for static desk setups.
- Capture Cards: Let your DSLR act like a webcam — best for pro setups.
- Vlogging Cameras: For outdoor storytelling and cinematic b-roll.
⚙️ How to Set Up Your Recording System
🧩 1. Webcam Setup
- Mount your webcam at eye level (tripod or monitor top).
- Plug into a USB 3.0 port for stable performance.
- Open your preferred app (Zoom, OBS, or YouTube Live).
- Adjust exposure and sharpness within the app.
- Add a soft light source (ring light or LED panel) for better quality.
🎯 Tip: Always look slightly toward your light — it gives a natural glow and depth.
🎥 2. Capture Card Setup
- Connect camera’s HDMI OUT → capture card’s HDMI IN.
- Capture card’s USB OUT → your computer’s USB port.
- Set your camera to “clean HDMI” (no on-screen icons).
- Open OBS → select “Video Capture Device” → your camera feed appears!
- Add lighting and test your mic for sync.
🎯 Tip: Use an AC adapter for long sessions so your camera doesn’t shut off mid-recording.
🔁 3. Hybrid Multi-Camera Setup
For podcasts or tutorials, mix both:
- Main angle = DSLR via capture card.
- Secondary angle = Webcam for face or reaction.
Switch between both using OBS — this gives your content dynamic movement without two full camera setups.
🎯 Who Should Buy What
Choose a Webcam If You:
✅ Teach online, stream casually, or make talking-head videos.
✅ Prefer plug-and-play simplicity over complex setups.
✅ Work mostly indoors or from a fixed desk.
Choose a Capture Card If You:
✅ Already own a DSLR or mirrorless camera.
✅ Want professional sharpness, lens control, and background blur.
✅ Stream or record longer sessions (tutorials, podcasts, courses).
Choose a Vlogging Camera If You:
✅ Shoot outdoors, travel, or make cinematic lifestyle videos.
✅ Need portability and lens flexibility.
✅ Don’t stream directly from your PC.
🔧 From Beginner to Pro – Setup Evolution Path
You don’t need to buy everything at once.
Every creator builds step-by-step — here’s how your setup might evolve:
🎬 Stage 1 – Starter Desk Setup
- 1080p Webcam
- Ring Light or LED Panel
- Lavalier Mic
Perfect for teachers, students, or first-time creators.
🎬 Stage 2 – Intermediate Creator Setup
- Mirrorless Camera (Sony / Canon)
- HDMI Capture Card
- Softbox or Bi-Color LED Panels
Ideal for YouTubers making tutorials, product reviews, or interviews.
🎬 Stage 3 – Pro Studio Setup
- Dual Cameras (Wide + Close-up)
- Capture Switcher (like ATEM Mini)
- Full Studio Lighting + Acoustic Setup
For creators producing consistent content or running a small studio.
💻 Top 5 Webcams for Creators in India (2026)
🎥 1. Logitech C920 HD Pro Webcam
Snapshot:
A gold-standard webcam trusted by content creators, teachers, and streamers alike. The Logitech C920 delivers true 1080p clarity, natural colors, and dual stereo mics — a benchmark in webcam quality.
Pros:
• Crisp 1080p video at 30fps with autofocus
• Dual stereo microphones for balanced voice capture
• Excellent low-light performance with auto light correction
• Works seamlessly with OBS, Zoom, and YouTube Live
Cons:
• Field of view (78°) may feel narrow for group framing
• Built-in cable is fixed, not detachable
• No physical privacy shutter on early variants
Hidden Insight:
Many creators pair the C920 with Logitech Capture software to fine-tune exposure, saturation, and framing — effectively turning it into a “mini DSLR” for desktop setups.
Verdict:
A creator favorite for over a decade — plug, shoot, and forget. Still one of the best-balanced webcams in India for long-term reliability.
🎥 2. AUSDOM AF640 1080p Webcam
Snapshot:
A sleek, budget-friendly 1080p webcam offering reliable clarity and smooth performance for everyday creators and educators.
Pros:
• Full HD 1080p resolution with auto exposure
• Built-in dual noise-reduction microphones
• 90° wide field of view — perfect for multi-person framing
• Plug-and-play setup with no drivers required
Cons:
• Lacks advanced autofocus tuning
• Average low-light performance
• Clip mount can feel loose on thin screens
Hidden Insight:
Pairing this webcam with a small ring light dramatically enhances its performance for indoor creators — compensating for its weaker low-light algorithm.
Verdict:
An affordable, reliable webcam that covers the basics beautifully. Ideal for teachers, streamers, and YouTubers who want smooth, fuss-free video quality.
🎥 3. NexiGo N930AF 1080p Webcam
Snapshot:
Compact yet powerful, the NexiGo N930AF brings autofocus, noise-reduction mics, and smooth 1080p recording to creators seeking reliable mid-tier performance.
Pros:
• 1080p HD video at 30fps with autofocus
• Built-in noise-cancelling microphones
• Auto light correction for indoor shoots
• Privacy cover included — rare in its price class
Cons:
• Colors can appear slightly oversaturated in bright light
• Plastic build feels lightweight
• Focus hunts occasionally during fast motion
Hidden Insight:
Creators report that using OBS filters (“sharpness -0.1, contrast +10%”) produces DSLR-like clarity for talking-head videos — great for podcasts and tutorials.
Verdict:
One of the best mid-range webcams available under ₹5,000. Balanced clarity, privacy protection, and ease of use make it a great all-rounder.
🎥 4. Dell UltraSharp 4K Webcam WB7022
Snapshot:
A premium 4K webcam designed for professionals and creators who demand DSLR-like sharpness in a plug-and-play format.
Pros:
• 4K UHD sensor with HDR and AI auto-framing
• Excellent low-light performance
• Magnetic mount and aluminum body
• Works with Windows Hello facial recognition
Cons:
• Premium pricing
• No built-in microphone (requires external mic)
• Needs USB 3.0 port for optimal output
Hidden Insight:
Pair it with a separate USB mic (like a lavalier or condenser) for studio-grade streaming — the image quality easily outperforms most built-in laptop cameras.
Verdict:
A true flagship webcam. If you’re serious about your YouTube or professional streaming quality, this is as close to mirrorless quality as webcams get.
🎥 5. HP 320 FHD Webcam
Snapshot:
A dependable, entry-level webcam for creators who want a simple plug-and-play HD option with reliable clarity and good mic performance.
Pros:
• Full HD 1080p clarity for everyday streaming
• Dual microphones for stereo sound
• Auto light correction improves low-light shots
• Foldable, adjustable clip fits most laptops and monitors
Cons:
• Limited manual control over focus/exposure
• No privacy shutter
• Image sharpness dips in very bright lighting
Hidden Insight:
For best results, pair this webcam with a soft LED ring light — the sensor performs exceptionally well when lighting is balanced.
Verdict:
Simple, solid, and effective. Ideal for teachers, meeting hosts, or beginner YouTubers who want reliable 1080p performance at a fair price.
⚡ Top 5 Capture Cards for Creators in India (2026)
Snapshot:
Elgato’s Cam Link 4K is one of the most trusted capture tools worldwide. It allows creators to use DSLR, mirrorless, or action cameras as high-quality webcams for streaming or video recording. Its compact, plug-and-play design makes it ideal for YouTubers and educators.
Pros:
• Supports 4K 30 fps and 1080p 60 fps recording
• Zero-lag HDMI passthrough
• Compact USB stick form factor
• Compatible with OBS, Streamlabs, and Zoom
Cons:
• Single HDMI input only
• Slight heating over extended use
Hidden Insight:
If you’re ready to outgrow webcams, this is the easiest way to convert your DSLR into a 4K studio cam.
Verdict:
A creator-favorite capture card that’s stable, reliable, and future-ready for 4K streaming.
2️⃣ AVerMedia Live Gamer Mini GC311
Snapshot:
Compact and powerful, the AVerMedia GC311 delivers smooth 1080p60 capture with minimal latency. A great fit for gamers, streamers, and educators who want high-quality video without complex setup.
Pros:
• Full HD 1080p60 capture quality
• Plug-and-play USB 2.0 operation
• RECentral software for quick editing
• Compact and durable design
Cons:
• Limited to 1080p (no 4K support)
• Software can be heavy on older systems
Hidden Insight:
It’s a sweet spot between entry-level adapters and pro-grade gear — great performance for the price.
Verdict:
A trusted mid-tier capture card for creators seeking stable, high-quality Full HD recording.
3️⃣ PiBox India 4K HDMI Video Capture Card
Snapshot:
A reliable and affordable HDMI capture adapter that connects your DSLR or mirrorless camera directly to your computer. Supports Full HD output with 4K input, making it ideal for first-time creators who want clean video quality without high investment.
Pros:
• 4K input, 1080p output
• Plug-and-play USB interface
• Works with OBS, Zoom, and Streamlabs
• Lightweight and compact
Cons:
• Basic build quality
• No advanced software support
Hidden Insight:
Perfect for creators who need a quick, budget-friendly capture bridge between camera and laptop.
Verdict:
A must-have starter capture card that punches well above its price point.
4️⃣ NZXT Signal HD60 Capture Card
Snapshot:
With premium build and zero-latency performance, NZXT’s Signal HD60 delivers 1080p60 recording and 4K passthrough — ideal for creators needing smooth, pro-quality streaming.
Pros:
• 1080p capture with 4K passthrough
• Aluminum casing for heat dissipation
• OBS, Twitch, and YouTube compatible
• Sleek and modern design
Cons:
• No internal recording
• Slightly higher price
Hidden Insight:
Trusted by serious creators for stable long sessions and crisp visuals.
Verdict:
A premium, minimalist capture solution that looks as good as it performs.
5️⃣ Razer Ripsaw HD Capture Card
Snapshot:
Razer’s Ripsaw HD delivers buttery-smooth 1080p60 recording with true 4K passthrough — built for creators and gamers who care about both performance and aesthetics.
Pros:
• 1080p60 capture + 4K passthrough
• Dual audio mix for mic + game sound
• Solid aluminum body
• RGB-accented Razer styling
Cons:
• Slightly bulky form
• Needs USB 3.0 port for best performance
Hidden Insight:
A reliable studio-grade choice that bridges the gap between gaming performance and professional video production.
Verdict:
A creator-favorite external capture card for crisp Full HD recording and streaming.
💡 Buying Checklist Before You Add to Cart
✅ Resolution: Go 1080p minimum; 4K only if you have good lighting.
✅ Frame Rate: 30fps is fine for talking videos, 60fps for gaming or motion.
✅ Low-Light Ability: Crucial if you don’t use strong lights.
✅ Connectivity: USB 3.0 for webcams; HDMI + USB for capture cards.
✅ Mount Options: Look for tripod threads and adjustable heads.
✅ Cable Management: Long cables reduce setup frustration.
🧰 Maintenance & Pro Tips
- Clean lenses weekly with a microfiber cloth.
- Keep firmware updated (check brand websites quarterly).
- Avoid USB hubs with multiple video devices — plug directly into your PC.
- Use OBS or Logitech G Hub for color and contrast tuning.
- Always preview before going live to check sync and focus.
🧩 Matching Webcams with Other Creator Gear
Building your setup is about balance — every tool complements another:
🎥 Webcam + Lighting:
Soft diffused lights (like Godox P260C or ring lights) fix exposure and remove harsh shadows.
🎙️ Webcam + Mics:
Wireless lavalier mics (like BOYA BY-V20 or UNIGEN UniMic Pro 120) prevent echo from desk distance.
📦 Capture Card + Camera:
Pair your DSLR with reliable HDMI cables and powered adapters to prevent dropouts.
🧱 Tripods + Mounts:
Compact stands like ULANZI MT-08 keep webcams stable and eye-level aligned.
❓ Frequently Asked Questions
Yes! Apps like DroidCam or EpocCam turn your smartphone into a webcam. It’s a great budget alternative.
Check USB ports, reduce camera resolution, and close background apps. For capture cards, use “Low Latency” mode in OBS.
Yes — as long as your laptop has a USB 3.0 or Type-C port and sufficient bandwidth.
It’s a lighting issue, not the webcam. Add a ring light or raise screen brightness for fill light.
Search your webcam model + “fps” on the brand site. You can also test using OBS frame rate settings.
Not all. Check for a “clean HDMI output” feature on your DSLR/mirrorless model.
Because of heat or power drain. Use an AC adapter instead of a battery for long sessions.
Only if you record in controlled lighting and have a strong PC. For most, 1080p at 60fps looks smoother and more natural.
📚 Related Guides & Resources
For a detailed comparison, visit our best webcams and capture cards for YouTubers guide.
🎥 Next Read: Best Vlogging Cameras in India (2026)
💡 Also Explore: Best Lighting & LED Panels for Creators (2026)
🎙️ Don’t Miss: Best Wireless Lavalier Mics for YouTubers (2026)
🛒 Full Product Range: Creator Gear Catalogue – Shop All Essentials
💬 Final Word: Start Simple, Scale Smart
Every creator begins with a simple webcam.
What separates amateurs from pros isn’t the price of their gear — it’s how well they use it.
Start with clarity, add lighting, and grow your setup one step at a time.
Soon, your visuals will match your voice — and your audience will feel it.
🖥️ If you stream, teach online, or record webinars, a green screen can make your background look studio-clean.
Check out my dedicated guide on Green Screens & Studio Accessories here:
👉 https://shipranarayan.com/best-green-screens-studio-accessories-india-2025/